Appearance
Merchandising
With Merchandising you can create a series of rules that shape the user experience of your site, by nudging the user towards products, excluding results from search and recommendations, and more.
The delicate touch offered by Merchandising can greatly help improve your view- and conversion rates when using Relewise.
Merchandising Rule Types
Merchandising rules are split into three distinct types: Boost/Bury, Filter, and Pin.
Conceptualizing of a Merchandising Rule
Before you begin creating a rule, conceptualize of it
Creating a Merchandising Rule
To create a Merchandising rule, navigate to the Merchandising interface in My Relewise, and click "Create New Rule".
Immediately, you will be prompted to give the rule a name, and to define its rule type. Be sure you understand the type of rule you want to create ahead of time, as a rule cannot have its type changed once it has been created.
Refer here for more information on different merchandising rule types.
Naming your Merchandising Rules
When naming a merchandising rule, consider what might be useful for you in six months when you go to look at the rule again. Try to be descriptive and informative - describe as best you can what it does, where, and for what entities.
The rule also has a Description field for a more exhaustive text, should you desire it.

Affected Context
The affected context of a merchandising rule is the setting that specifies when and where the rule should take effect. This can be sorted, roughly speaking, into three types of context: Request type, request settings, and advanced settings.
Affected Context: Request Type
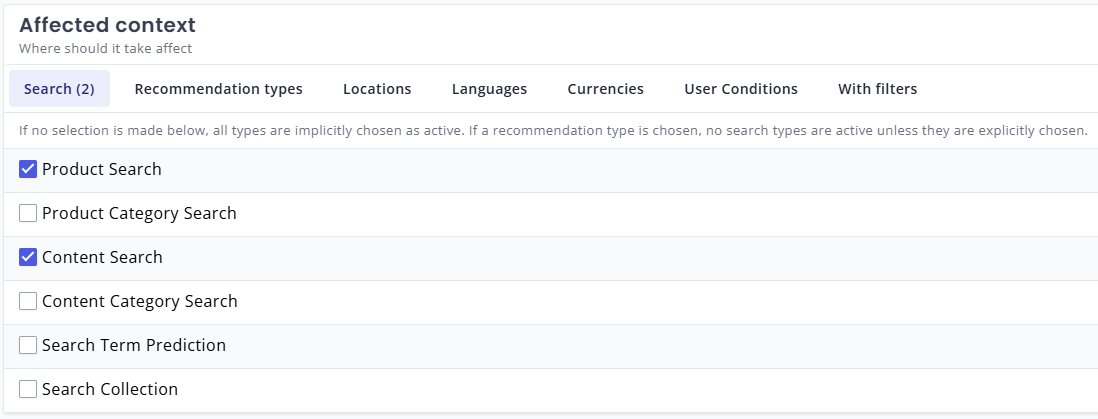
First and foremost, decide if your rule should apply to Search, Recommendation, or both. If nothing is selected for either search or recommendation in the Affected Context field, the rule will apply globally to all Relewise-related queries.
Once you specify at least one request type, the rule will exclude all unselected types.
Affected Context: Request Settings
Specifying a request setting such as Languages, Currencies, or Locations, allows you to further narrow down the context of a rule. This is useful to ensure that a rule only targets, e.g., a particular market or country.
Specifying a Location is useful for making rules that target, e.g., a recommendation
Now that we are editing the Merchandising rule, the first thing we need to set up is what context it should apply to. We might want to, for instance, apply a boost rule to searches, but not to recommendations, or vice versa. Let us set up a rule that boosts a certain product by 50% in the product search.
We can break this goal up into three distinct parts:
- It must apply to the context Product Search
- It must apply to a specific product
- It must apply a 50% boost to the product in the abovementioned context
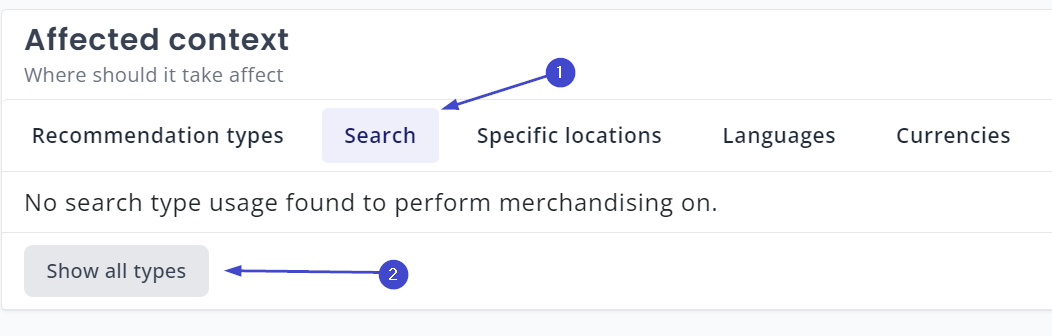
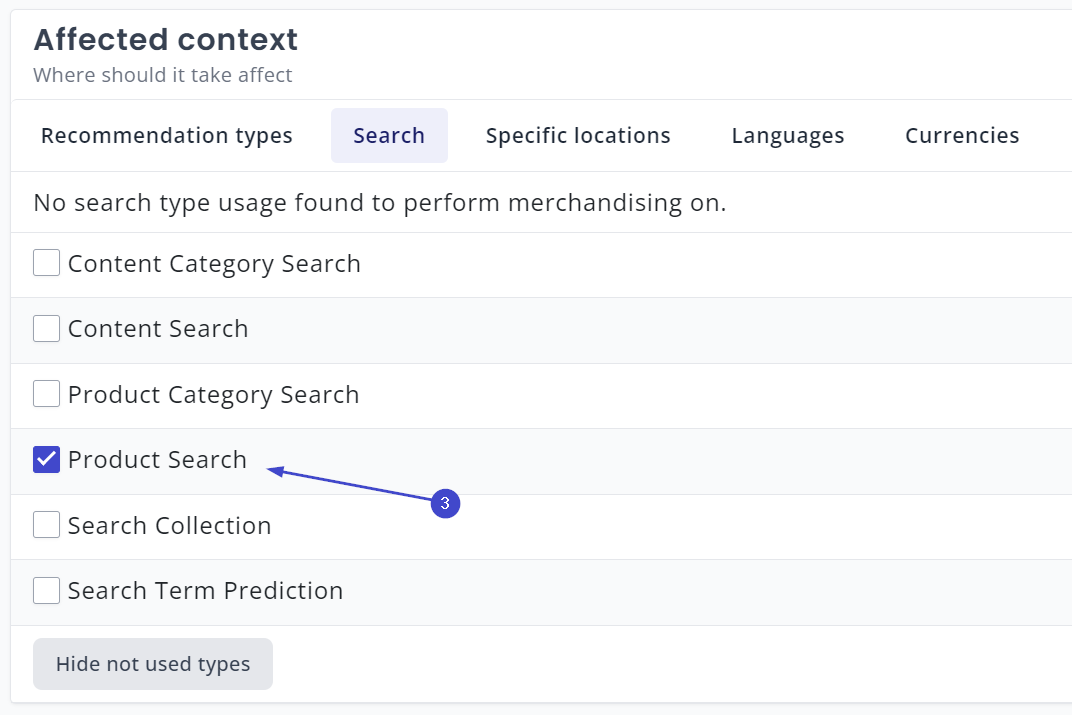
While editing the rule, we look under Affected Context, and select Search. Here, we hit the button 'Show all types', and find the desired context type - in this case, Product Search:
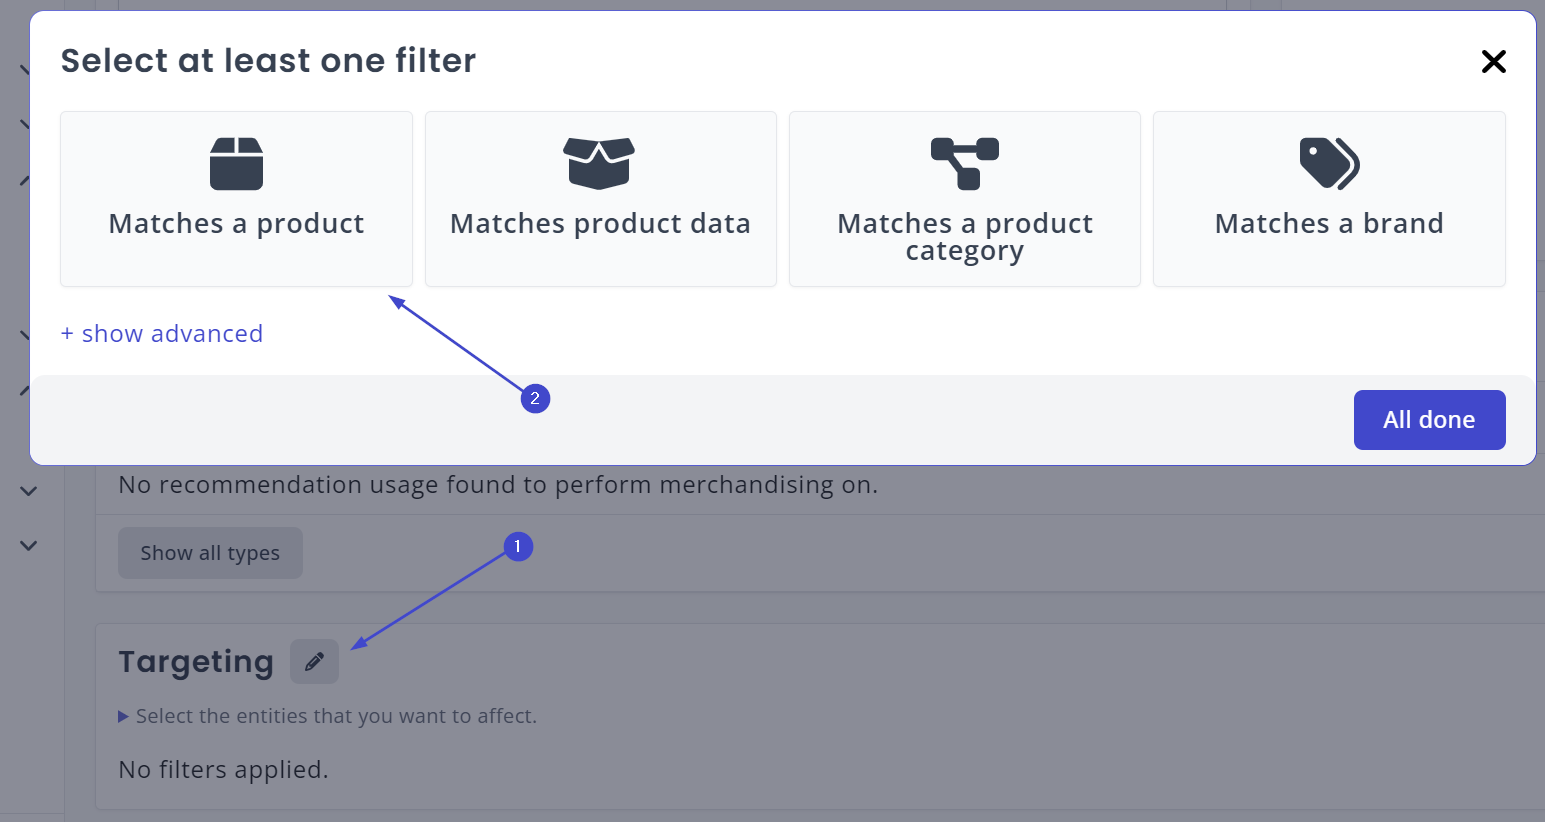
Step 3: Targeting
Then next step is determining what entity we actually want to affect with this rule. We know that it must be a specific product, so we click the Edit button, and select "Matches a product".
Naturally, you may be working off of your own data set; if so, select a product that fulfills the following criteria:
- It shares one or more keywords with at least two other products
- It is not the first product to be presented to you when you search for one of the relevant keywords.
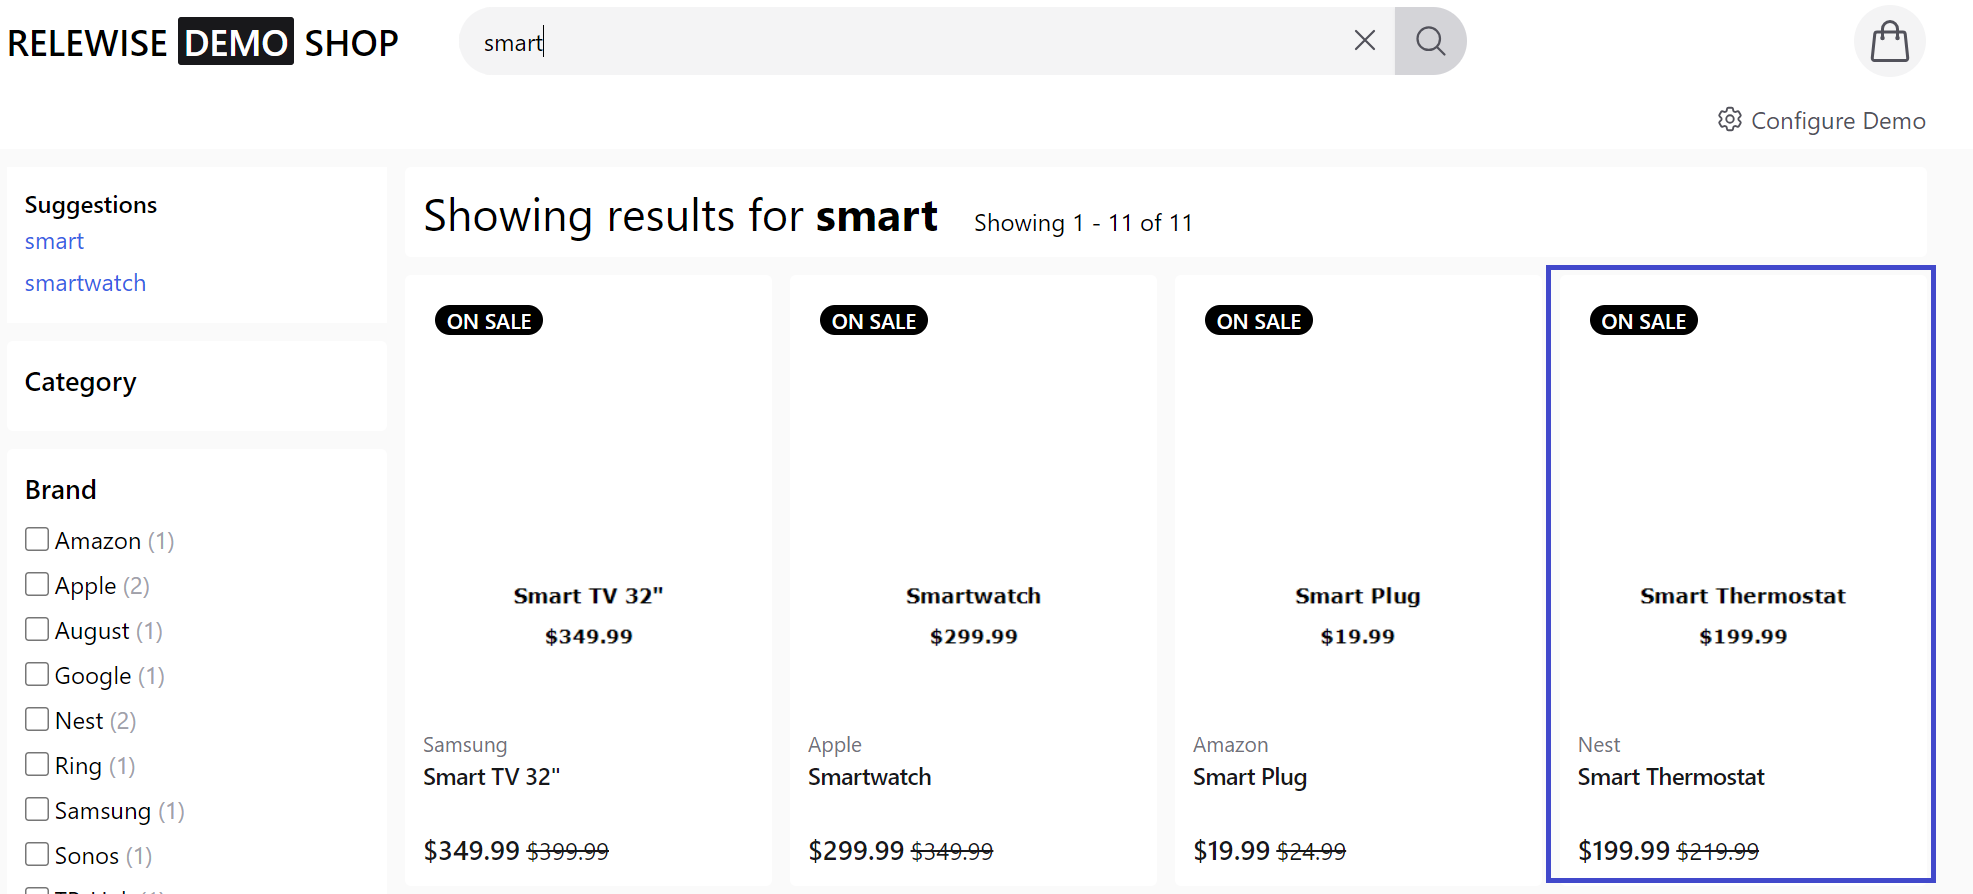
The goal is to demonstrate the power of the boost function, so it is essential that you choose a product that is not already the topmost result for a query. For this Demo, we are using the product Smart Thermostat with ProductId 82. This product shares a keyword - smart - with several other products, but it is not the first we find when we search for it. But our Merchandising rule is about to change that.
From having chosen "Matches a Product," enter the name or product ID of the product you want to associate with this rule. You can do multiple products at once (although we recommend not doing more than around five in this manner, as there are better ways of targeting larger groups of products), but for now, one product will do. Select it, and hit "All done" to return to the previous screen.
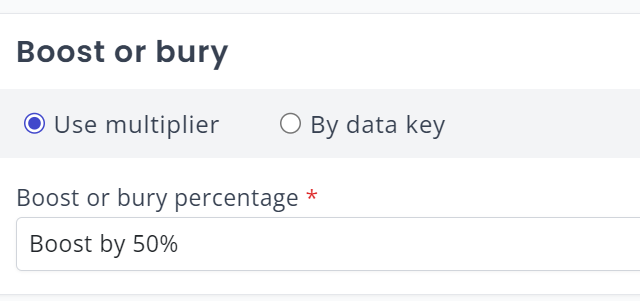
Boost or Bury
We are almost done. Now that we have defined the context and the entities being affected, we can now define what should actually happen. Since we want to boost this product's visibility by 50 percent, we select "Boost by 50%" from the drop-down menu:
With this done, simply press Save Rule to commit what you have created to the My Relewise server.
Time to test it out!
Account for a minute or two before the rule has gone live on your site. Once it has, however, you can navigate to your demo site and input the search query that you know should produce your desired product. In the case of our demo, we go from the product being last, to it being first:
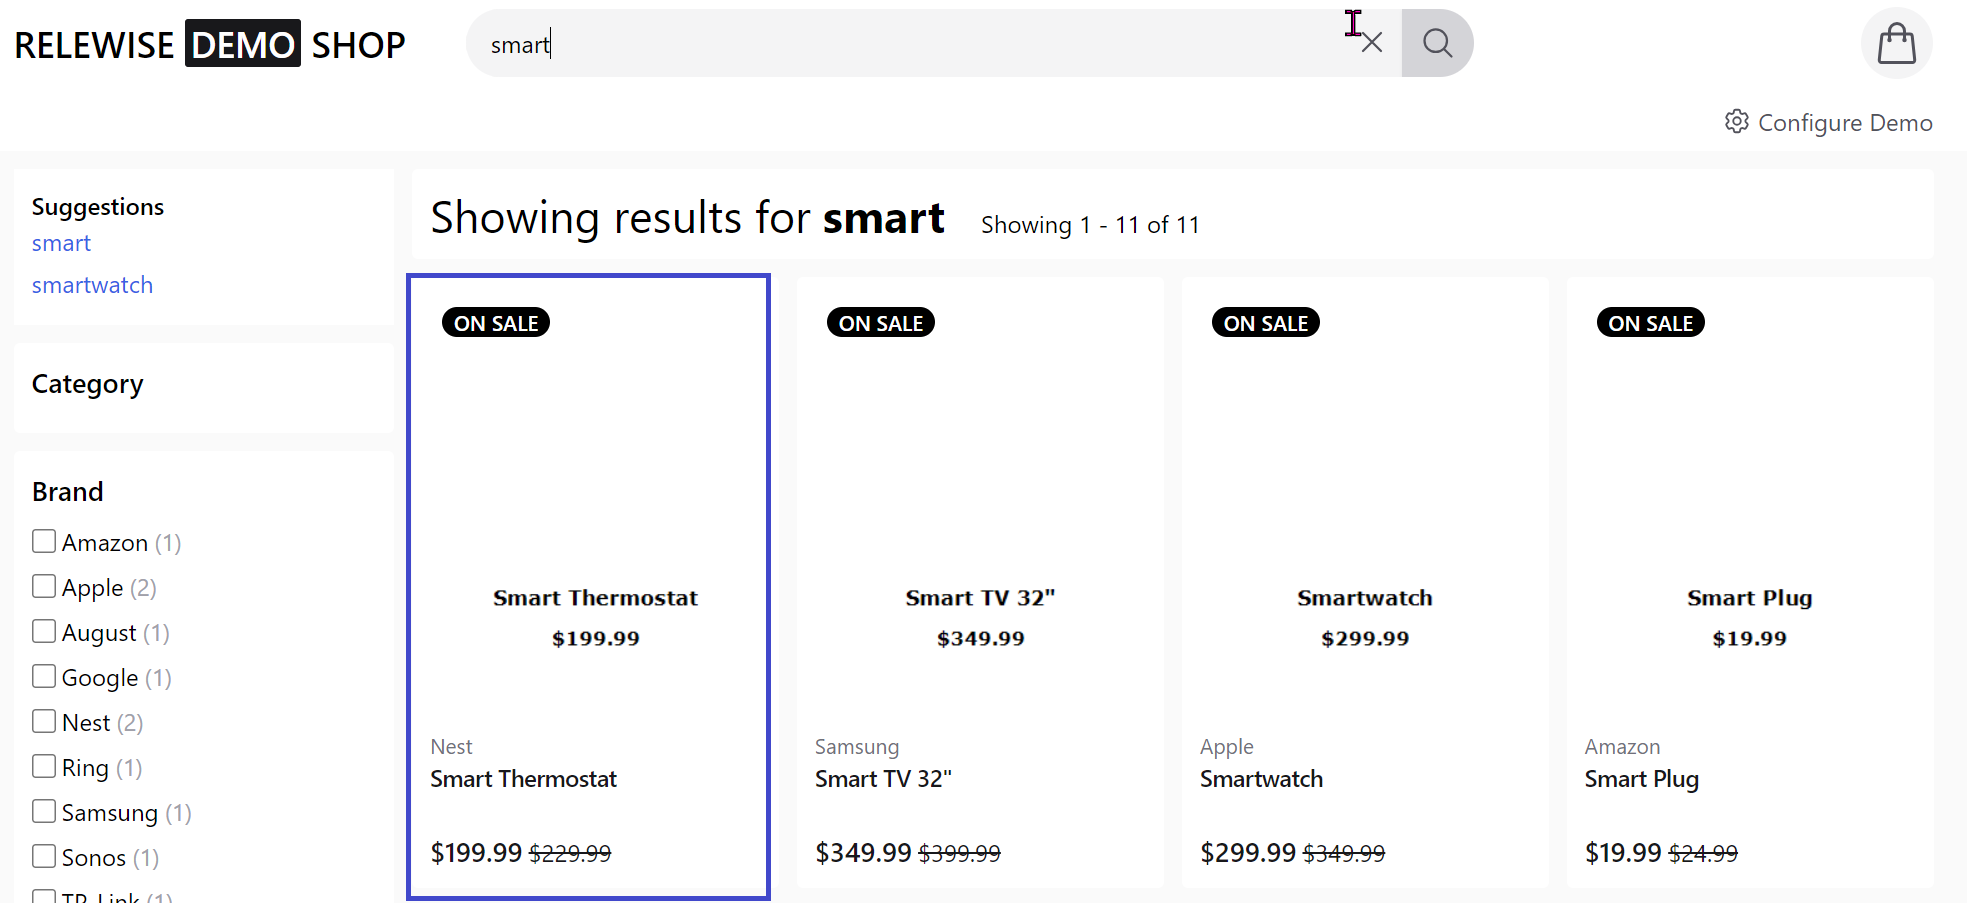
Immediately, our favored product has jumped ahead of all others, thanks to our significant boost to its relevance.
A note on Merchandising
As mentioned above, Merchandising can do a great many things, and is a massively versatile tool for site owners to promote or demote entities that are more or less favored. When you use Relewise on an active shop site, and not merely a demo like this, you will find that personalization on the basis of our user behavior tracking is dominant in establishing what is shown to your users. Merchandising allows you to influence the direction of your users' gaze, which in turn can help you promote sales and marketing efforts. When used in conjunction with the Products Performance page, you will be able to streamline and direct your flow of user traffic towards those products that desperately need the additional views - and away from those that do not.